Configurations
- Login at Akademikerhilfe-Portal and change your password
- Make sure you can login at the portal
- Connect to Wifi named Akademikerhilfe and enter your valid credentials
Scroll down for an image-based description.
Windows 10
-
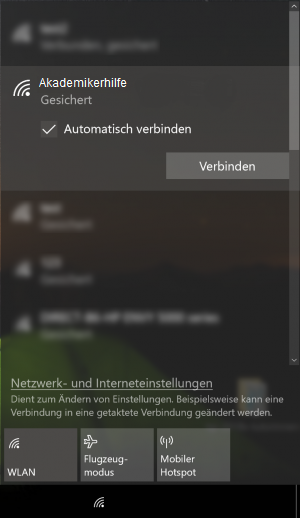
Step1:Select the wireless-network called
Akademikerhilfe
-
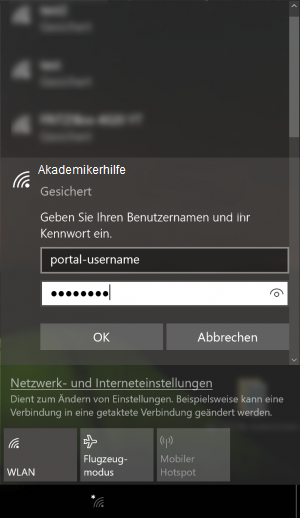
Step2:Use the same login credentials as for the
Akademikerhilfe-PortalNote: You have to change your the portal-password before the login works!
-
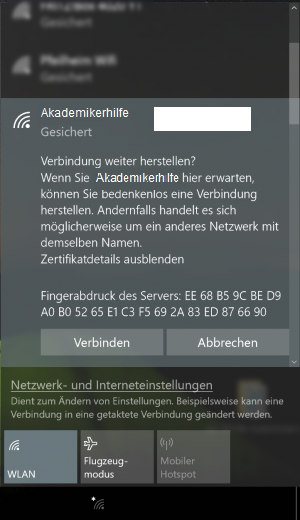
Step3:Check that the fingerprint matches with this one:
EE 68 B5 9C BE D9 A0 B0 52 65 E1 C3 F5 69 2A 83 ED 87 66 90
Windows 7
-
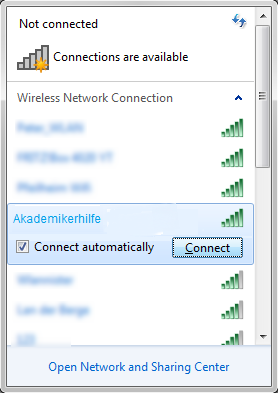
Step1:Select the wireless-network called
Akademikerhilfe
-
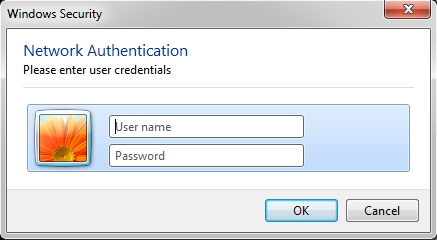
Step2:Use the same login credentials as for the
Akademikerhilfe-PortalNote: You have to change your the portal-password before the login works!
-
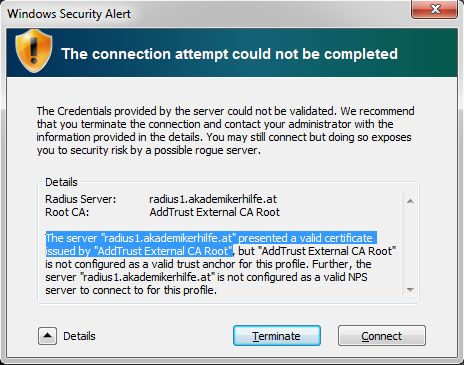
Step3:When connection for the first time, a warning will show up.
Verify that values for
Radius-Server and the
Root-CA are
equal to those on the
image. If the values are the same, click
Connect
-
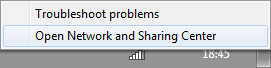
Step4:You are connected and the internet is already accessible. The
folling steps are
necessary for your
account-securityTherefore: right-click onto to wireless-symbol and
open the
Network and Sharing Center
-
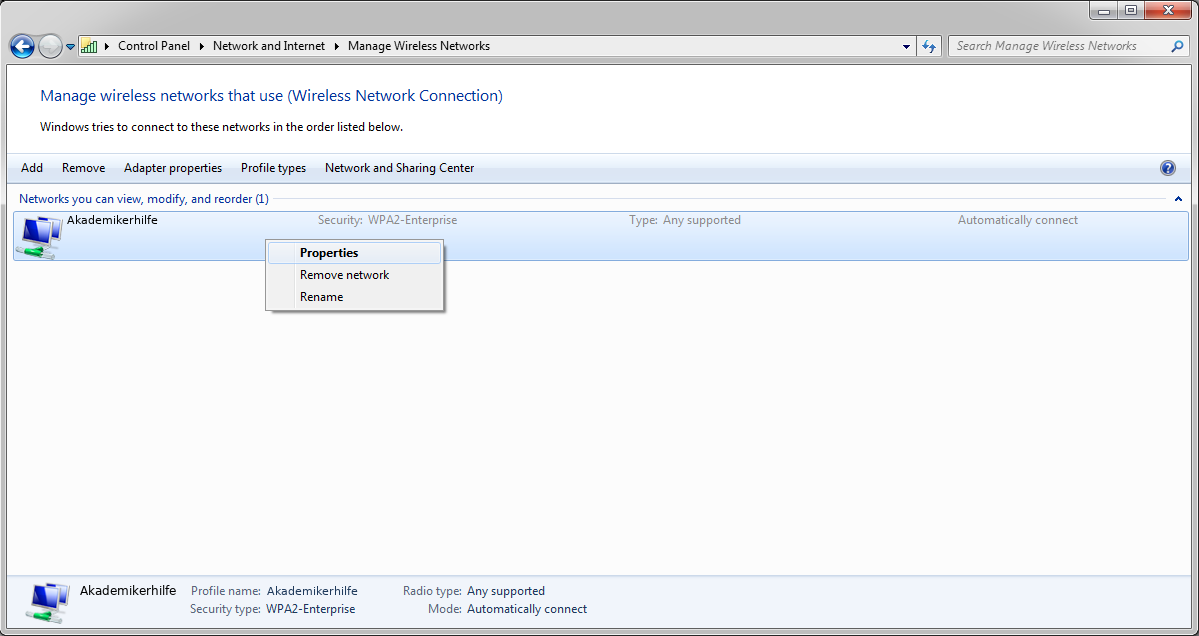
Step5:After clicking
Manage wireless networks on the left sidebar, select the entry called
Akademikerhilfe and open it by double-clicking or with a right-click followed by a click on properties
-
-
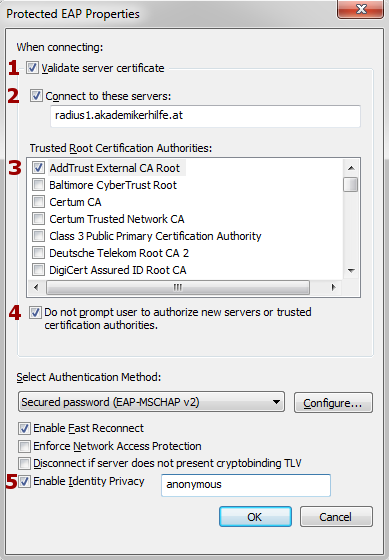
Step7:1-3 should be equal to your configuration, simply tick 4 and 5 and add an anonymous name
Mac OSX
-
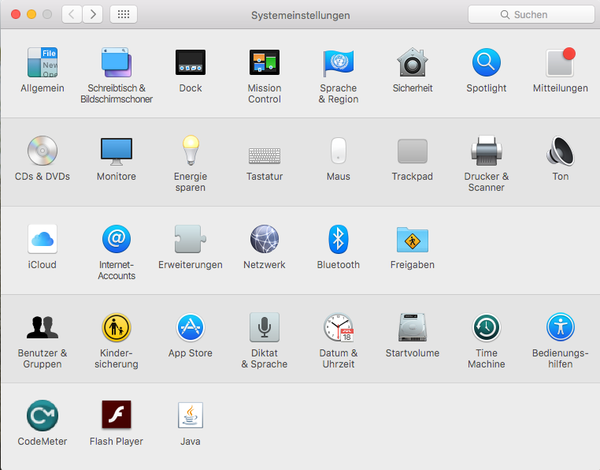
Step1:Open System-configuration to add a new wifi-network
-
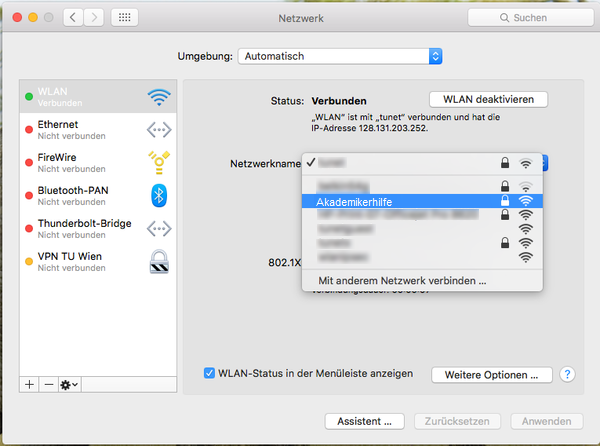
Step2:Select the wireless-network called Akademikerhilfe
Use the same login credentials as for the Akademikerhilfe-Portal
Note: You have to change your the portal-password before the login works!
-
Source: https://www.zid.tuwien.ac.at/tunet/wlan/anleitungen/mac_os_x/
Android
-
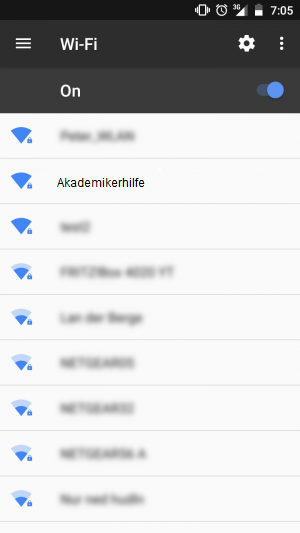
Step1:Select the wireless-network called
Akademikerhilfe
-
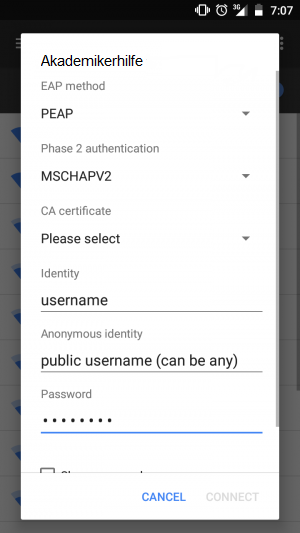
Step2:Use the same login credentials as for the
Akademikerhilfe-PortalNote: You have to change your the portal-password before the login works!
-
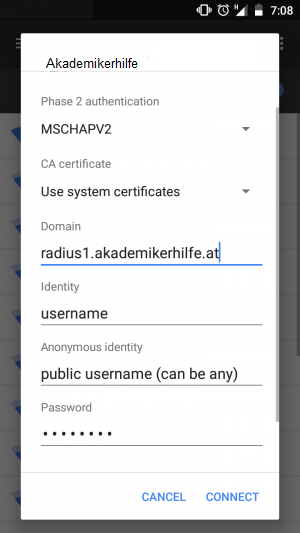
Step3:If your mobile phone supports selection of a 'CA certificate' it is
strongly advised to choose
'use system certificates' followed by
adding 'radius1.akademikerhilfe.at' to the domain-field.
Click next and you are done
iOS
-
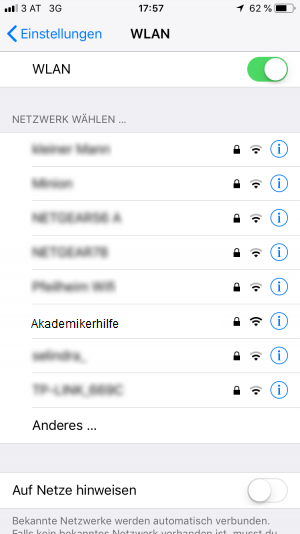
Step1:Select the wireless-network called
Akademikerhilfe
-
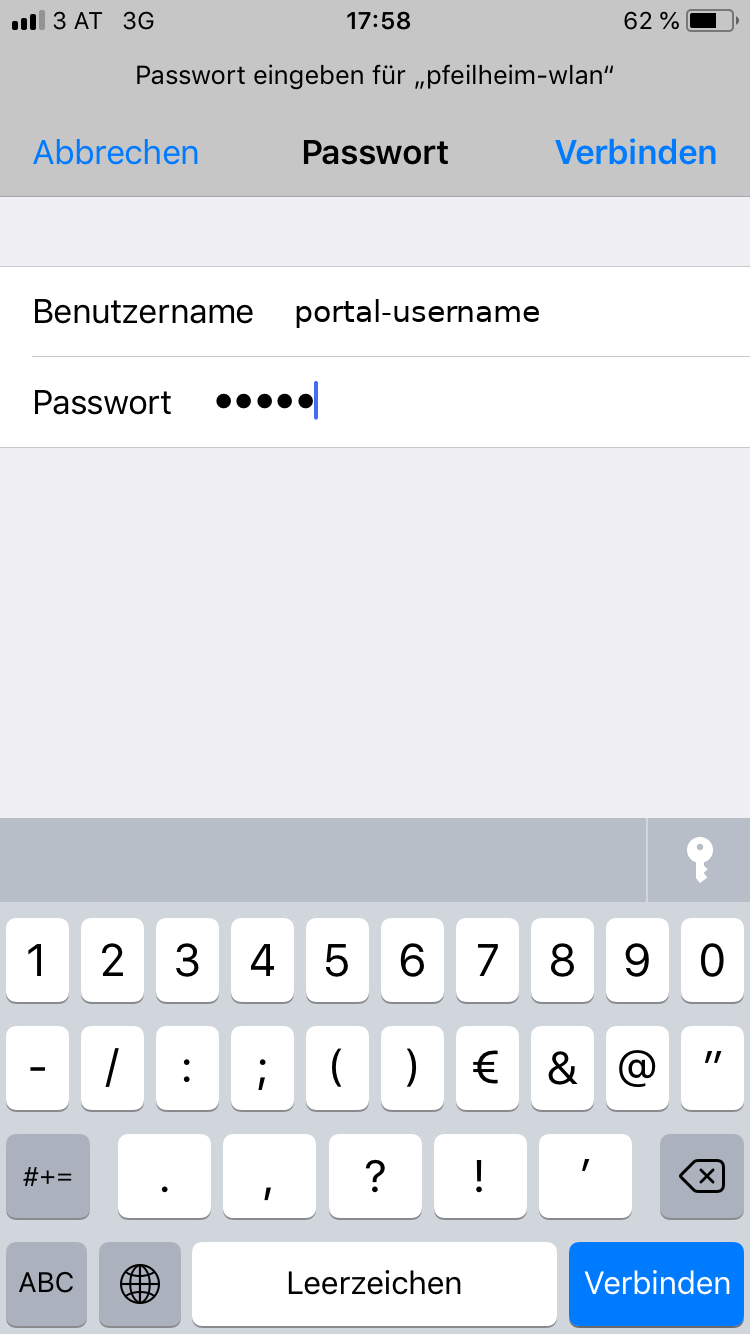
Step2:Use the same login credentials as for the
Akademikerhilfe-PortalNote: You have to change your the portal-password before the login works!
-
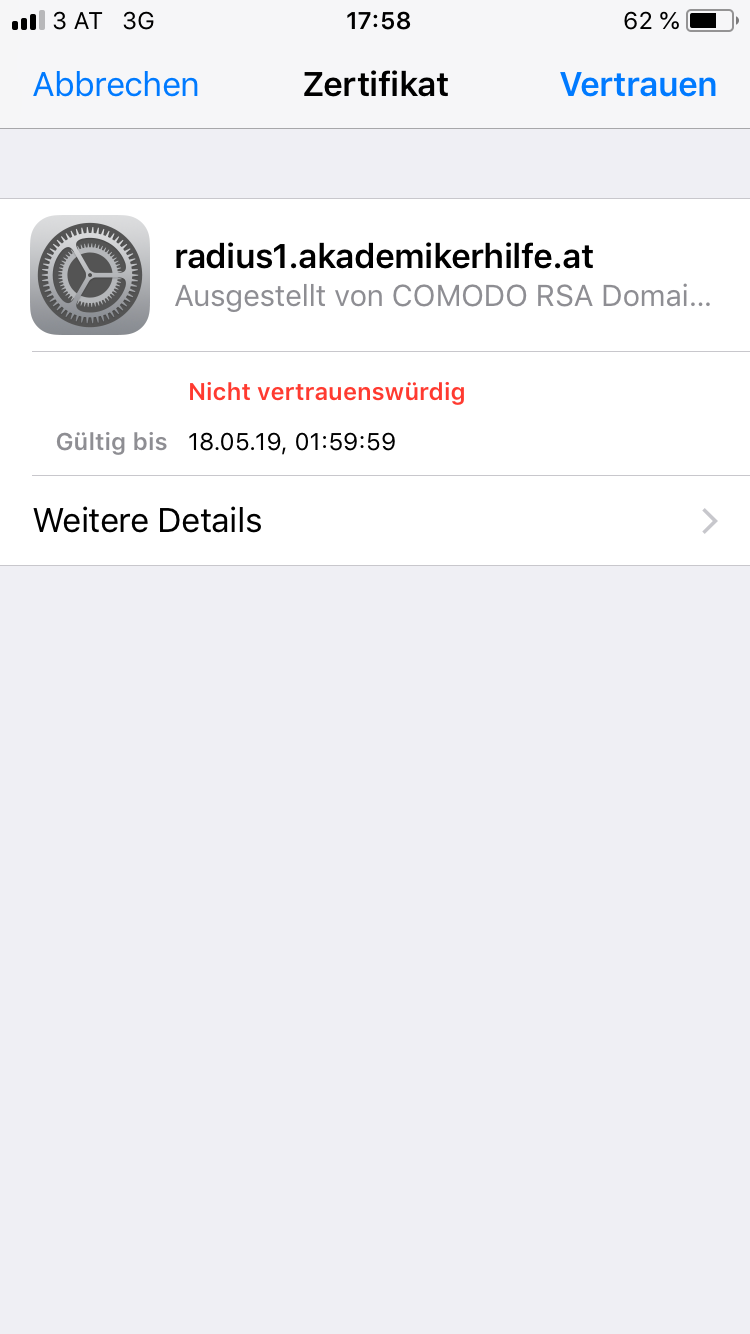
Step3:Trust the certificate (only asked for the first time connecting!), verify that the name matches
radius1.akademikerhilfe.at


