WLAN4-6
Aus Pfeilheimwiki
Version vom 18. April 2018, 03:19 Uhr von Mkurz (Diskussion | Beiträge) (Die Seite wurde neu angelegt: „First of all, thanks to Akademikerhilfe for installing wifi-accesspoints all over the building in Pfeilheim4-6 as this guide could be never written otherwise ;…“)
First of all, thanks to Akademikerhilfe for installing wifi-accesspoints all over the building in Pfeilheim4-6 as this guide could be never written otherwise ;)
To get started, this page shows how to configure various devices with security in mind. Your login credentials will be the same as those you use for extending your users' agreement (Benützervertrag).
Configurations
Windows 7
-
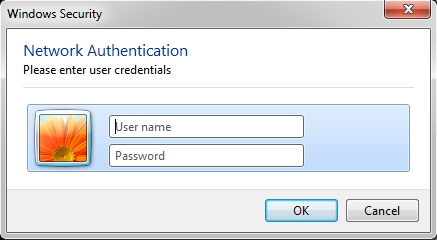 Step2:
Use the same login credentials as for the Akademikerhilfe-Portal
Note: You have to change your the portal-password before the login works!


Android
As always: if you have further questions or problems with the configurations, drop a mail: support@pfeilheim.sth.ac.at